
 |
| fall votives for our sweet MOPPETS volunteers |
Here's the tutorial for making your own votives at home....
What you need:
- a glass votive holder or vase
- cute tissue paper
- paper punch or scissors
- mod podge (available in the craft department or here)
- any other embellishments... we used jute on the votives pictured above
Instructions:
First, use your paper punch or scissors to cut the tissue paper into shapes. For an autumn votive like we made in the meeting, you may want to do fall leaves or pumpkins. For a Christmas votive, you could do a variety of Christmas-y paper punches or cut snowflakes out of white tissue paper. For Valentine's Day, hearts would be cute, shamrocks for St. Patrick's Day, etc. The possibilities are endless!
Paint one section or side of your votive with a thin layer of mod podge. Place your tissue paper decorations on the votive. Once you've added & arranged your desired number of paper embellishments, cover with another thin layer of mod podge.
Repeat until entire votive is completed. Allow to dry completely.
Use as is or add additional embellishments. Pop a candle in & you're done!
Here are just a few variations:
Winter votive with snowflakes:

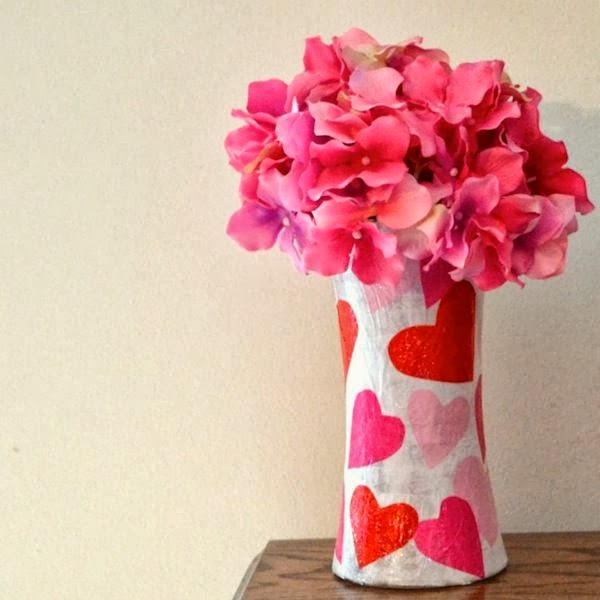
Super-cute heart version for Valentine's Day or just to brighten someone's day:

Or bring some happy flowers into your home with this fun version:

& adding a cute personalized tag makes your lovely votive even more special!

Paint one section or side of your votive with a thin layer of mod podge. Place your tissue paper decorations on the votive. Once you've added & arranged your desired number of paper embellishments, cover with another thin layer of mod podge.
Repeat until entire votive is completed. Allow to dry completely.
Use as is or add additional embellishments. Pop a candle in & you're done!
More crafty ideas:
These votives would be perfect seasonal decor, teacher gifts, hostess gifts for the holidays... SO many options!Here are just a few variations:
Winter votive with snowflakes:

Super-cute heart version for Valentine's Day or just to brighten someone's day:
Or bring some happy flowers into your home with this fun version:

& adding a cute personalized tag makes your lovely votive even more special!


No comments:
Post a Comment
Note: Only a member of this blog may post a comment.